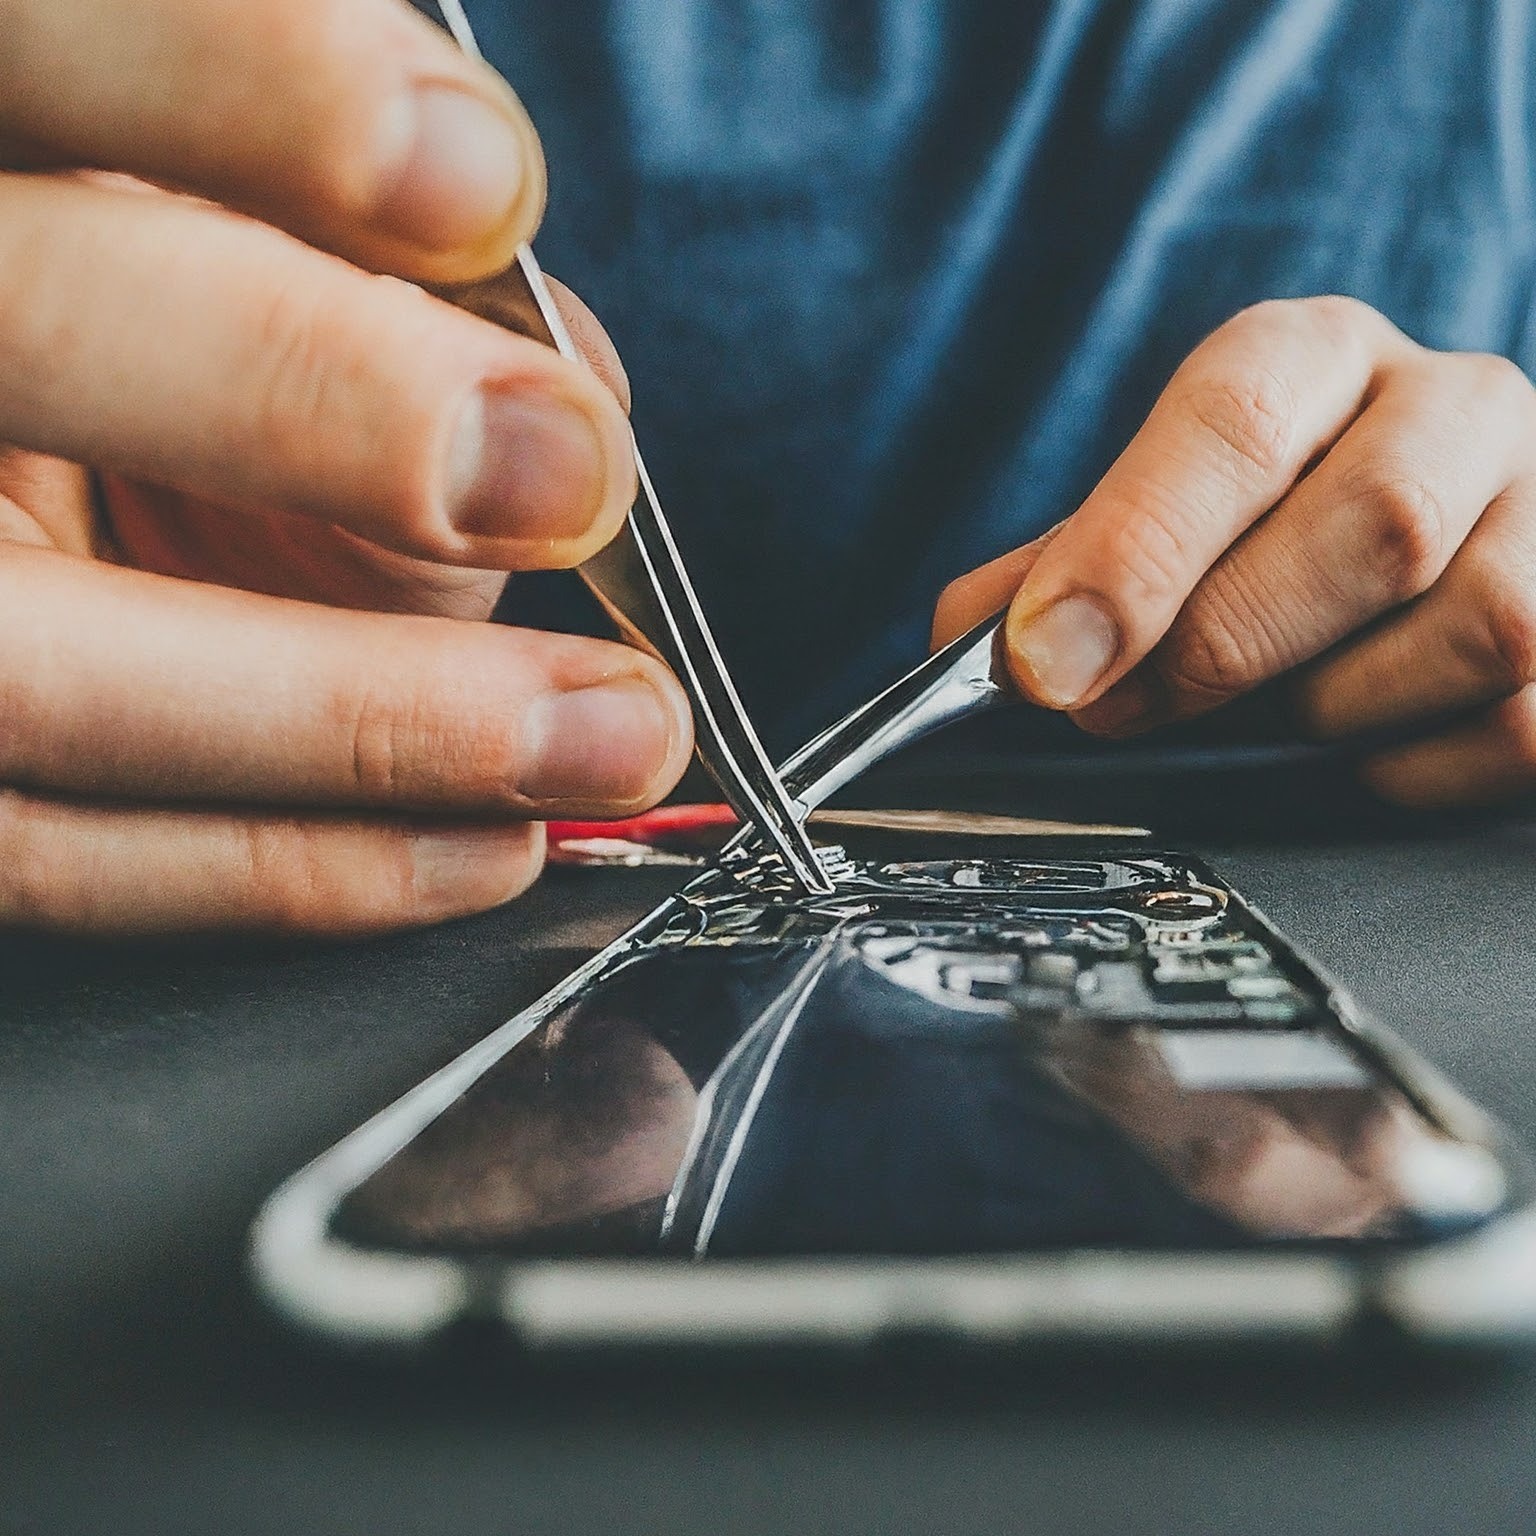


Building a computer involves various intricate steps, and among them, connecting and configuring front panel best motherboard for i9-10900k . These connectors control essential functions like power, reset, and audio, making their proper installation vital for the seamless operation of your PC. This comprehensive guide will walk you through the process, ensuring that you navigate this essential step with confidence.
Understanding Front Panel Connectors:
Before diving into the connection process, it’s essential to familiarize yourself with the common front panel connectors you’ll encounter:
- Power Switch (PW): Activates the motherboard and powers up the computer.
- Reset Switch (RS): Initiates a system reset.
- Power LED (PLED): Indicates the computer’s power status.
- Hard Drive LED (HDDLED): Shows activity on the hard drive.
- Front Panel Audio (HD Audio or AC’97): Connects headphone and microphone jacks.
Tools and Equipment:
Gather the necessary tools to ensure a smooth installation:
- Motherboard Manual: Your motherboard’s manual is your go-to resource for specific instructions.
- Front Panel Connector Cables: These cables are usually included with the motherboard.
- Small Screwdriver: Necessary for securing connectors in place.
Step-by-Step Guide:
Note: The following steps provide a general guide. Refer to your motherboard’s manual for precise instructions, as steps may vary based on the motherboard model.
Step 1: Review the Motherboard Manual
Carefully read the how to configure front panel connectors on a motherboard? manual to locate the front panel header. Identify the pins for the power switch, reset switch, power LED, HDD LED, and audio connectors. The manual will provide specific details for your motherboard model.
Step 2: Prepare the Case
Place your computer case on a stable surface, ensuring all components are properly installed. Clear any clutter that might hinder the installation process.
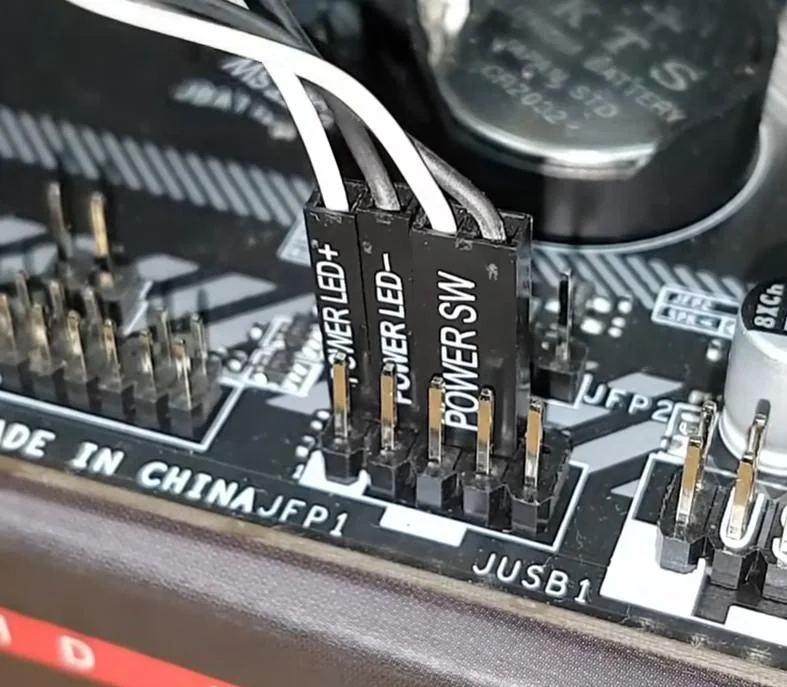
Step 3: Locate Front Panel Header
Identify the front panel header on the motherboard. It is typically located near the bottom-right corner. This header is a cluster of pins where you’ll connect the front panel connectors.
Step 4: Identify Pin Layout
Examine the pin layout of the front panel header in the motherboard manual. The pins are usually labeled with abbreviations like PW, RS, PLED, HDDLED, etc. Understanding this layout is crucial for correct connections.
Step 5: Connect Power Switch and Reset Switch
Attach the power switch and reset switch connectors to their respective pins on the front panel header. These connectors are non-polarized, meaning they can be connected in either orientation.
Step 6: Connect Power LED and HDD LED
Connect the power LED and HDD LED connectors to their corresponding pins. Pay attention to the positive (+) and negative (-) markings on the connectors. Connecting these correctly ensures proper functionality.
Step 7: Front Panel Audio Connection
If your case has front panel audio, locate the HD Audio or AC’97 connector. Connect it to the corresponding pins on the front panel header, following the instructions in the motherboard manual.
Step 8: Secure Connectors
Once all connectors are attached, use a small screwdriver to secure them in place on the front panel header. This step ensures a stable and reliable connection, preventing accidental dislodging.
Step 9: Verify Connections
Double-check all connections against the motherboard manual. Ensure that each connector is in the right position and oriented correctly. Pay special attention to the correct polarity for LED connectors.
Step 10: Power On and Test
Power on your computer and test the front panel functions. Verify that the power button, reset button, and LEDs are working correctly. This step is crucial for identifying any issues before finalizing the build.
Step 11: Troubleshooting
If any front panel functions are not working as expected, revisit the connections. Check for loose connections, reversed polarities, or any damaged pins on the connectors. Troubleshoot systematically to identify and resolve any issues.
Also Read: HOW TO GENERATE QUALITY LINK BUILDING STRATEGIES
Conclusion:
Connecting and configuring front panel connectors is a fundamental aspect of assembling a computer. By following your motherboard manual and this step-by-step guide, you can ensure a successful installation. Properly connected front panel connectors contribute not only to the functionality but also to the aesthetics of your PC. Taking the time to understand and execute this process accurately will result in a well-functioning and visually pleasing computer system.